PROJECT OVERVIEW
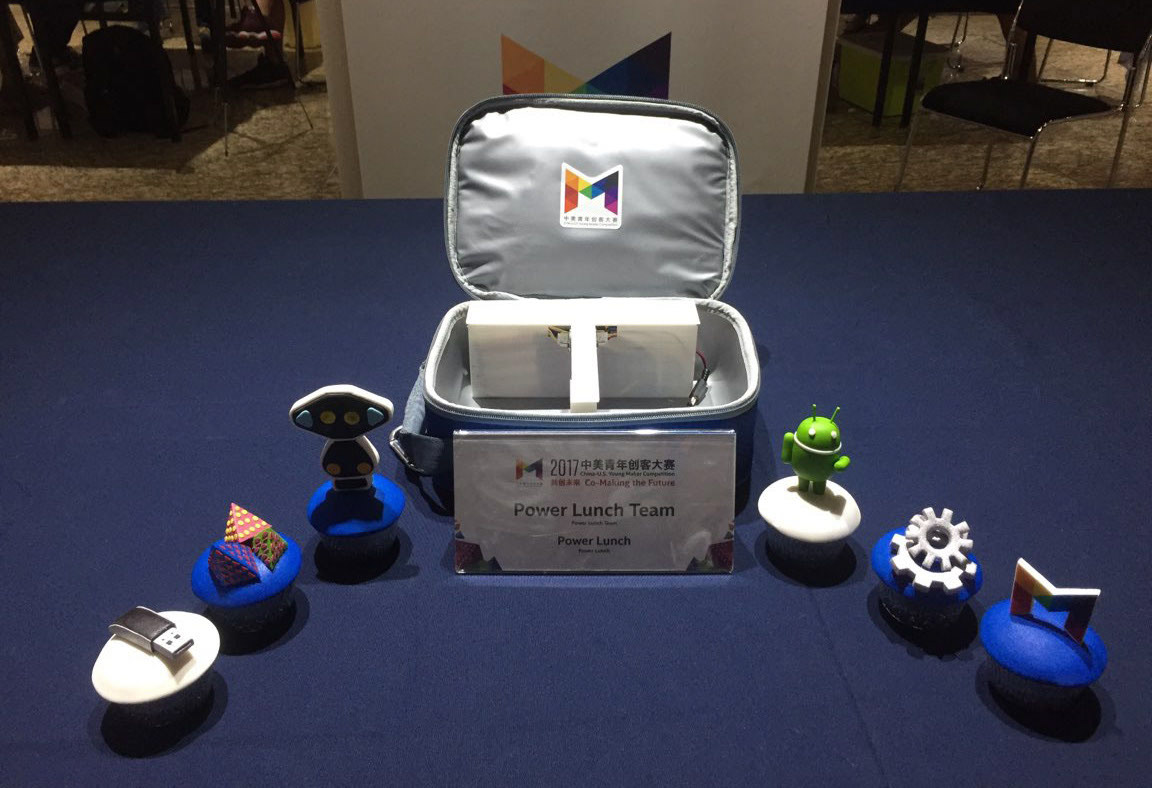
Many construction workers, field workers and farmers do not have access to refrigerators and microwaves while they are working outdoors. Our team thought of a creative way to solve that problem by creating an insulated lunchbox that can heat one side and cool the other through a mobile app. Power Lunch can additionally serve as a convenient lunch box for children when they go on field trips. Other applications include containers for food delivery or within larger home and kitchen appliances. Power Lunch was selected as a U.S. Semi-Finalist in the China-U.S. Co-making the Future Makerthon Competition in Beijing.
Many construction workers, field workers and farmers do not have access to refrigerators and microwaves while they are working outdoors. Our team thought of a creative way to solve that problem by creating an insulated lunchbox that can heat one side and cool the other through a mobile app. Power Lunch can additionally serve as a convenient lunch box for children when they go on field trips. Other applications include containers for food delivery or within larger home and kitchen appliances. Power Lunch was selected as a U.S. Semi-Finalist in the China-U.S. Co-making the Future Makerthon Competition in Beijing.
MY ROLE
I was in charge of assembling everything together (cutting and stripping wires, soldering) and designing the components together. I also did the custom 3D modeling to fit all of the components. I worked with a software engineer who developed the mobile app to activate the device and show the updating temperature readings. Other team members included two hardware developers who worked on the Intel powered Arduino 101 control board and the integration of the two temperature sensors (hot and cold) which would send readings through Bluetooth to the mobile app. I also designed the updated Power Lunch logo as well as make design refinements to the final presentation.
PROJECT DESCRIPTION
Our team arranged a thermoelectric cooling plate in the middle of a lunch box or cooler to simultaneously heat and cool the contents on opposing sides. The module connects to a mobile app through Bluetooth allowing the user to manage the module's power consumption and timing of the heating and cooling.
Our team arranged a thermoelectric cooling plate in the middle of a lunch box or cooler to simultaneously heat and cool the contents on opposing sides. The module connects to a mobile app through Bluetooth allowing the user to manage the module's power consumption and timing of the heating and cooling.
HOW IT WORKS
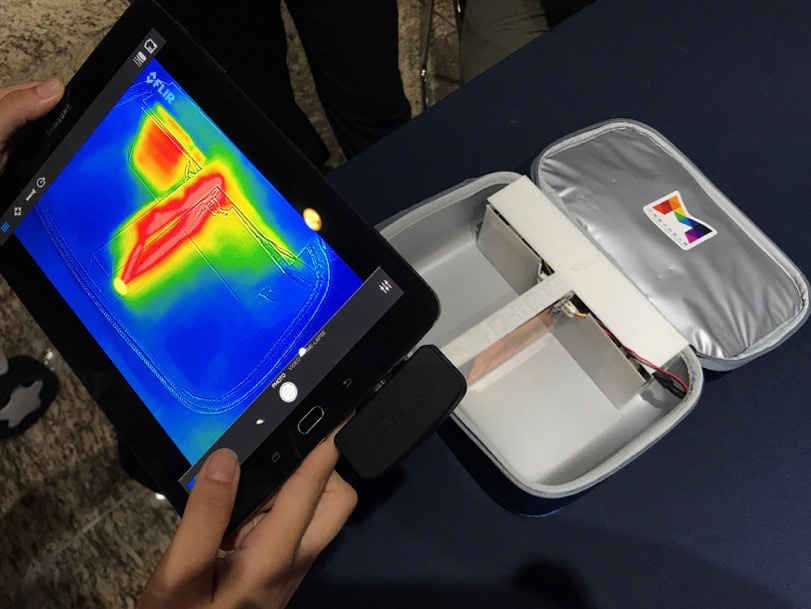
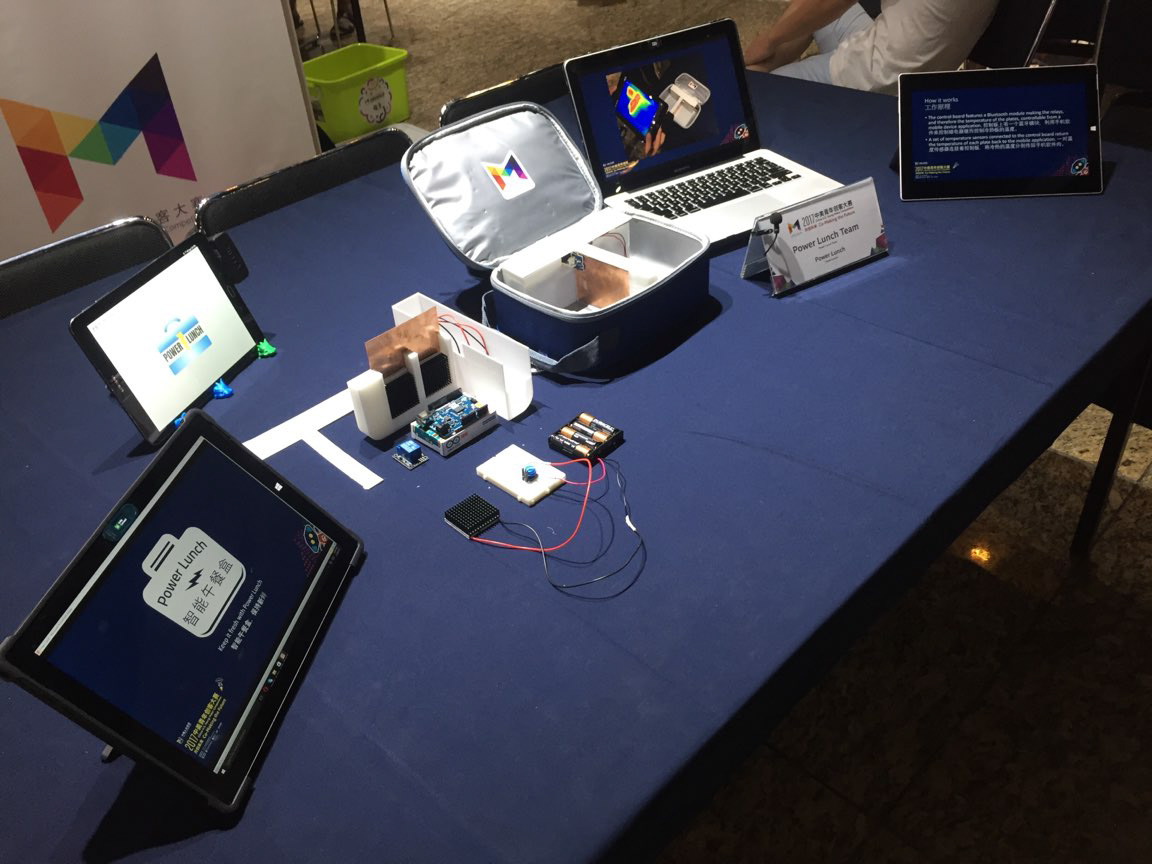
A control board connects to a relay, directing current to an array of thermoelectric coolers. The coolers, with heat sinks applied on one side to prevent the hot side from becoming too hot, are sandwiched between conductive plates that make up the hot and cold surfaces of the lunchbox. The control board features a Bluetooth module making the relays. The temperature of the plates are controllable from a mobile device application. A set of temperature sensors are connected to the control board and return the temperature readings of each plate back to the mobile application. The module can be powered by rechargeable batteries.
A control board connects to a relay, directing current to an array of thermoelectric coolers. The coolers, with heat sinks applied on one side to prevent the hot side from becoming too hot, are sandwiched between conductive plates that make up the hot and cold surfaces of the lunchbox. The control board features a Bluetooth module making the relays. The temperature of the plates are controllable from a mobile device application. A set of temperature sensors are connected to the control board and return the temperature readings of each plate back to the mobile application. The module can be powered by rechargeable batteries.
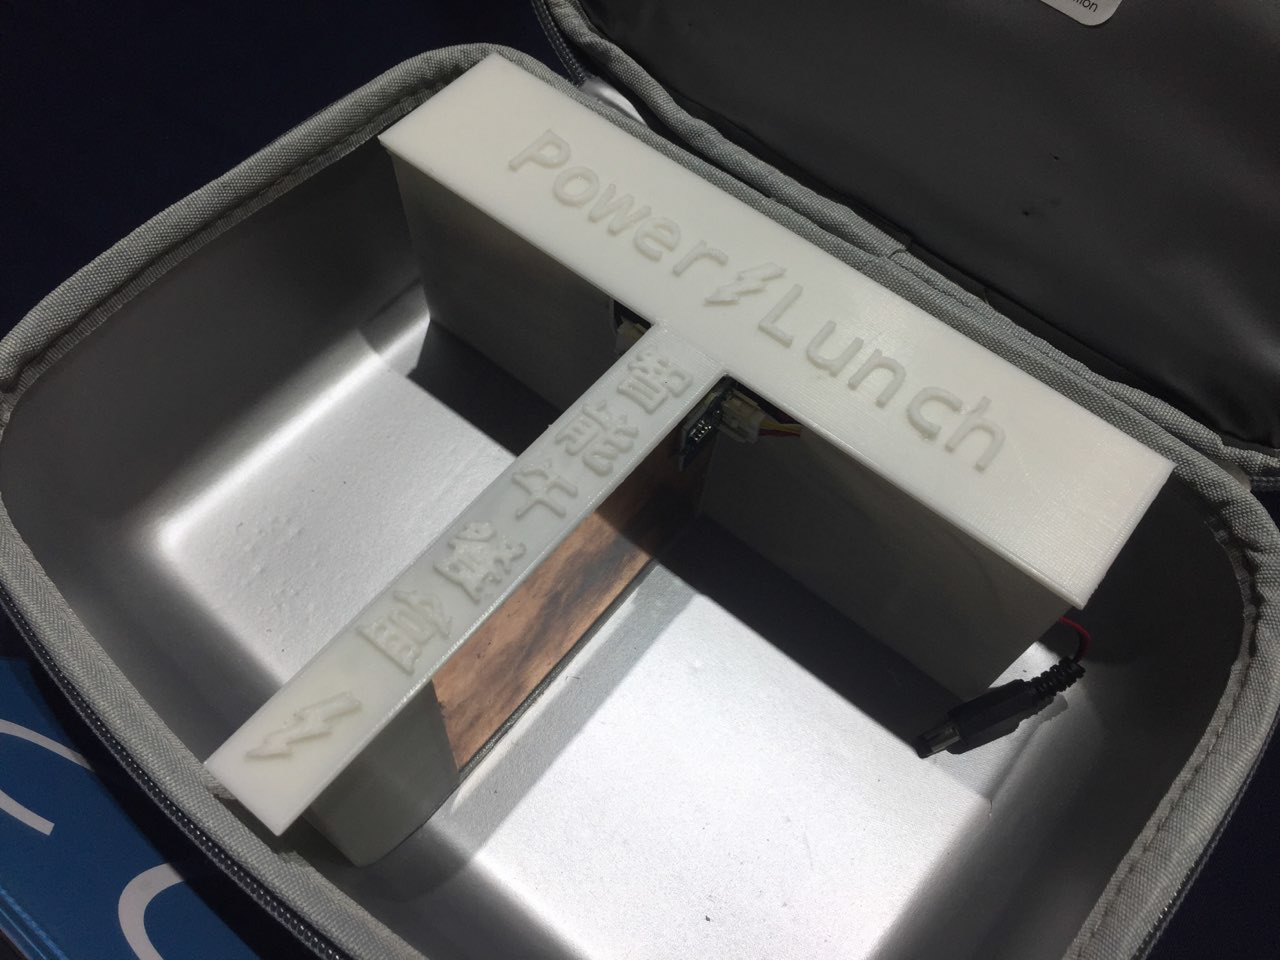
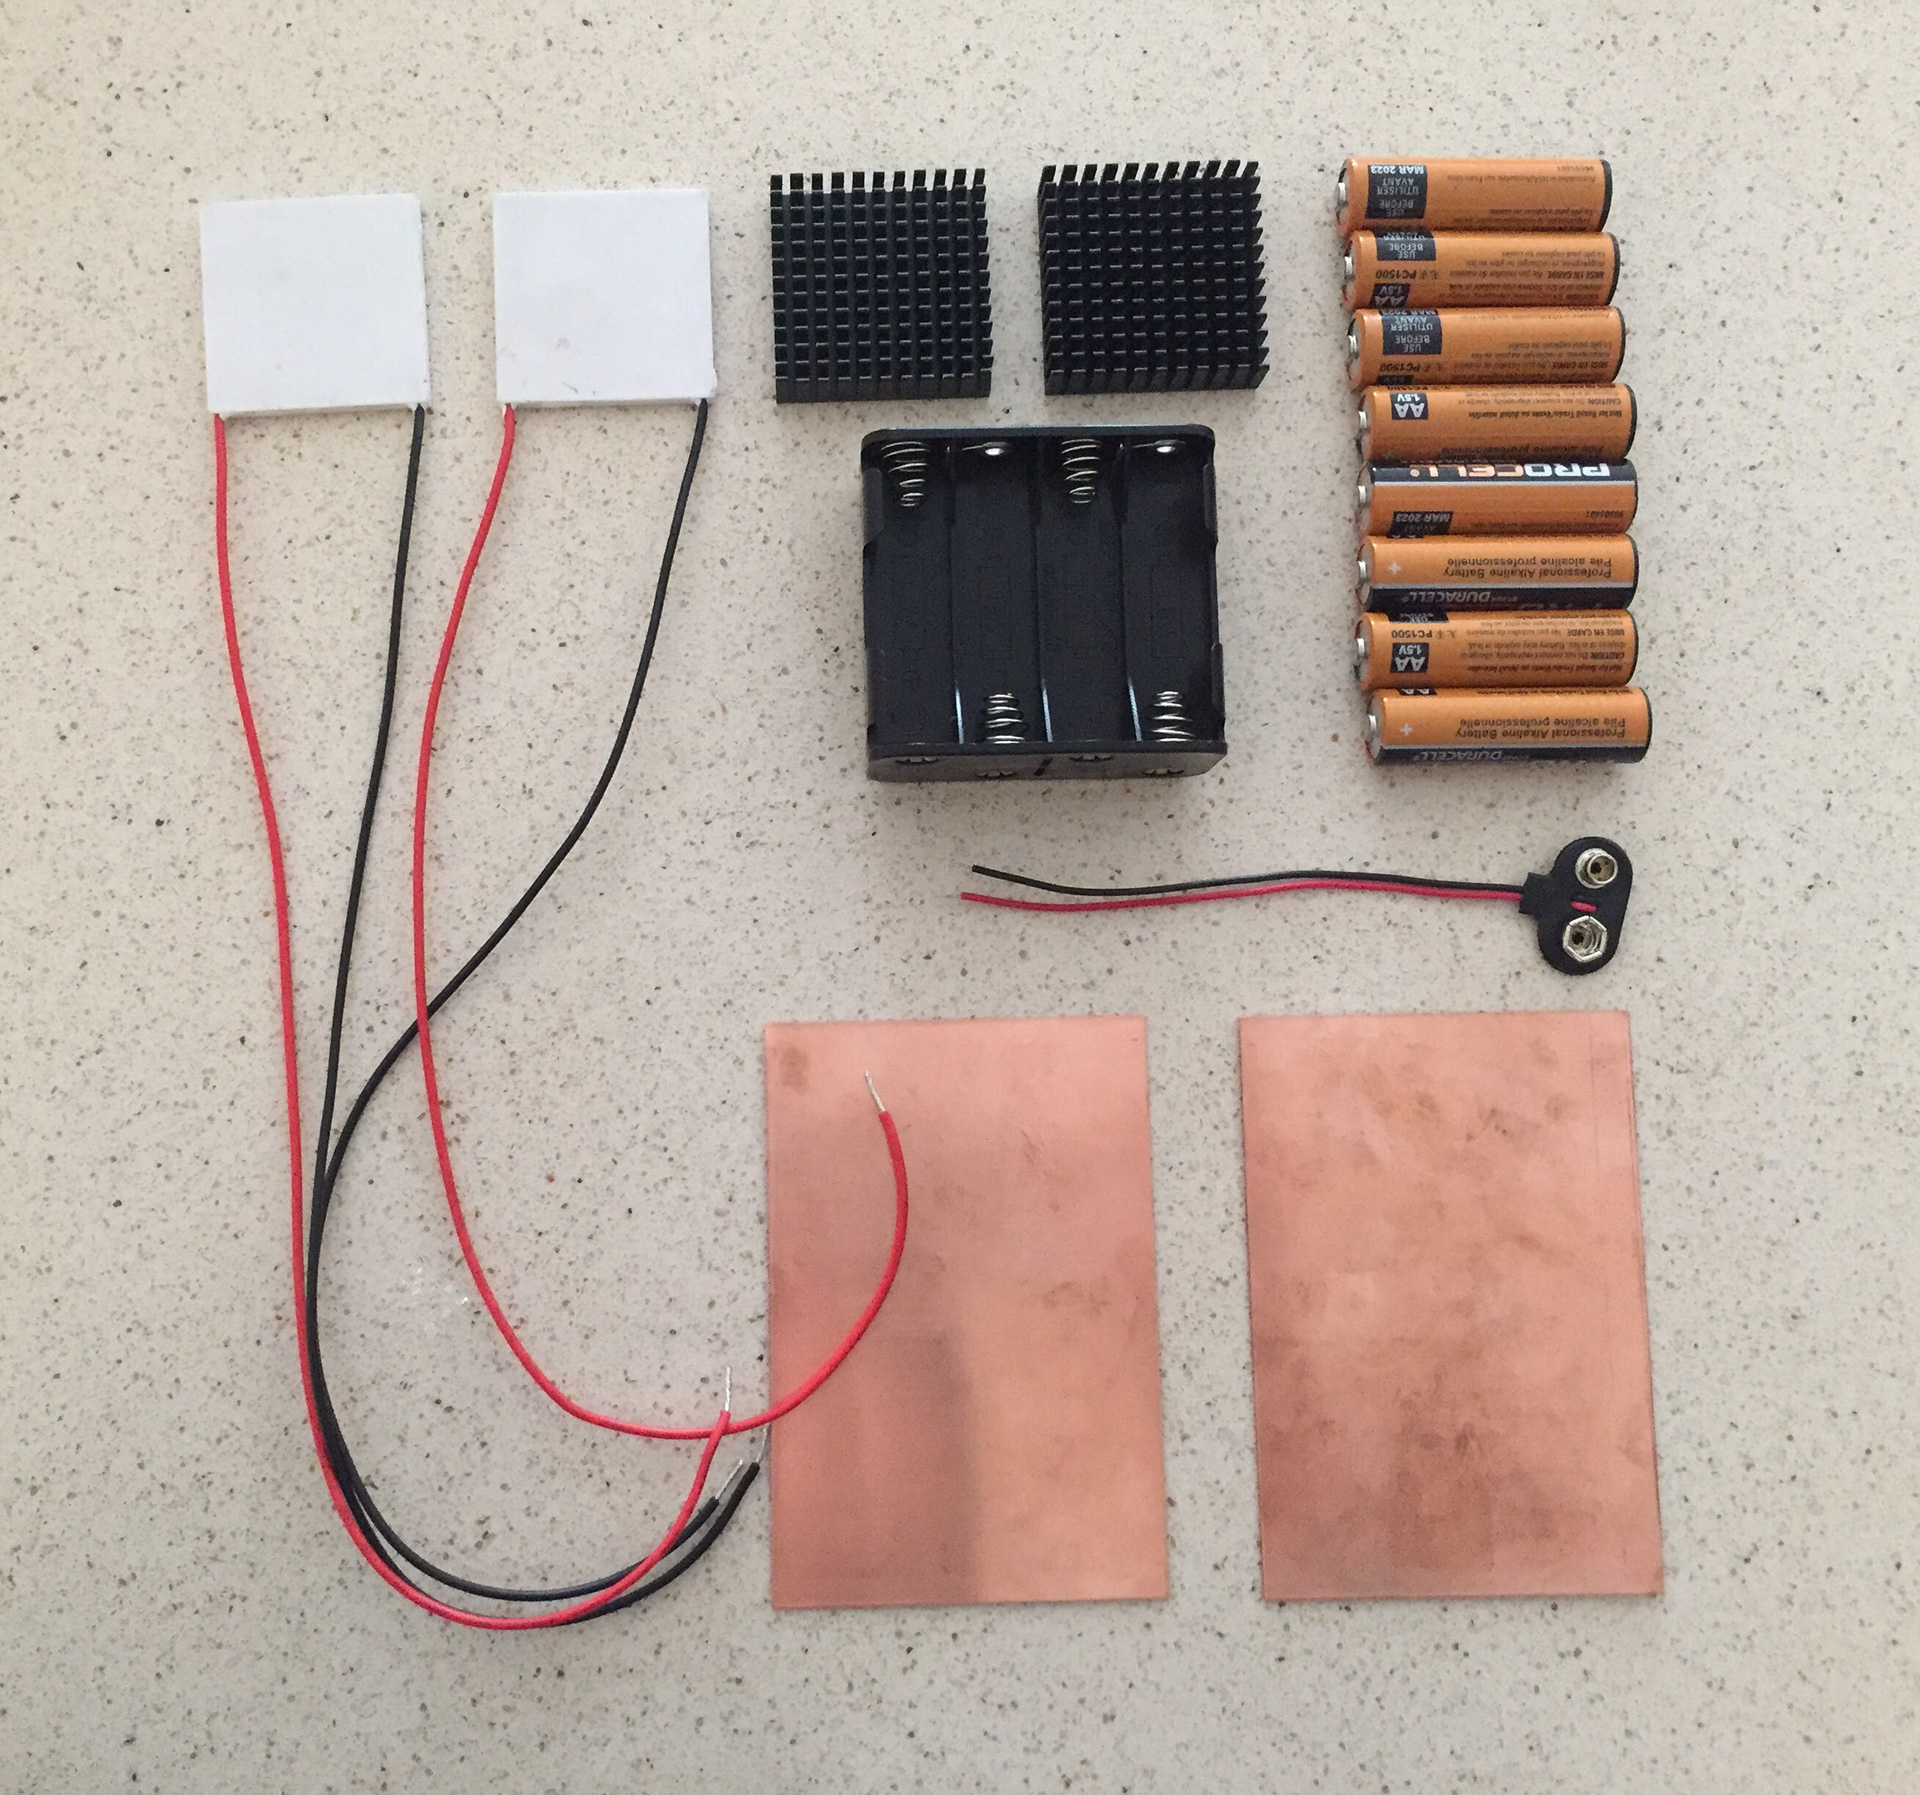
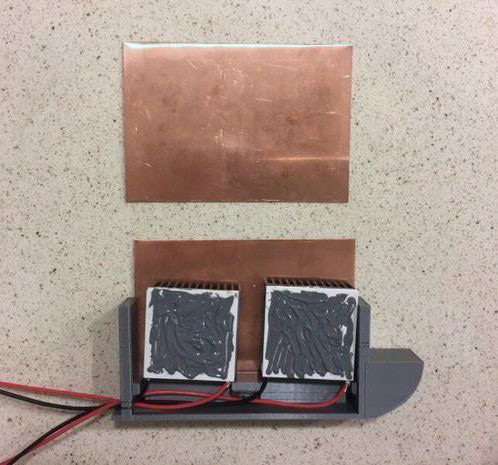
ASSEMBLING THE THERMOELECTRIC MODULE
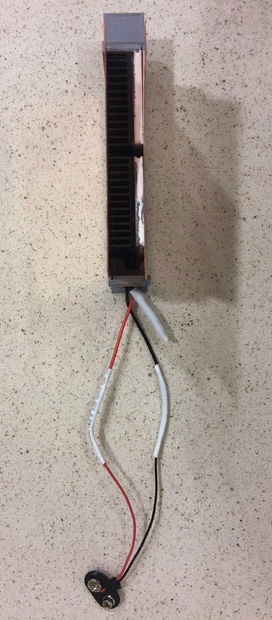
The thermoelectric heating and cooling module is assembled by first placing a conductive copper sheet into the 3D printed holder. Next, two thermoelectric plates are coated with thermal paste are pressed flat against the plate. The exposed surfaces of the plates are also coated with thermal paste and and heat sinks are the pressed flat against them. A second copper sheet is pressed against the heat sinks and held in place by the 3D printed holder.
The thermoelectric heating and cooling module is assembled by first placing a conductive copper sheet into the 3D printed holder. Next, two thermoelectric plates are coated with thermal paste are pressed flat against the plate. The exposed surfaces of the plates are also coated with thermal paste and and heat sinks are the pressed flat against them. A second copper sheet is pressed against the heat sinks and held in place by the 3D printed holder.
After measuring how much excess wire there is, excess conductive wires from the thermoelectric plates are cut, stripped and the ends are tinned using a soldering iron and solder. The ends of those wires are soldered onto the wires of the button connector for the battery pack with shrink tubing in between. The AA batteries are set inside the battery packs for both the Arduino and the thermoelectric module.
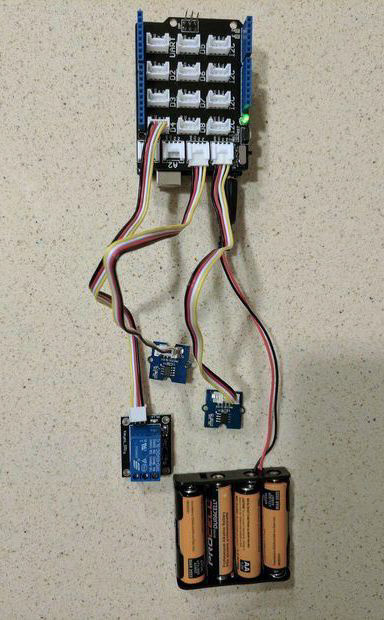
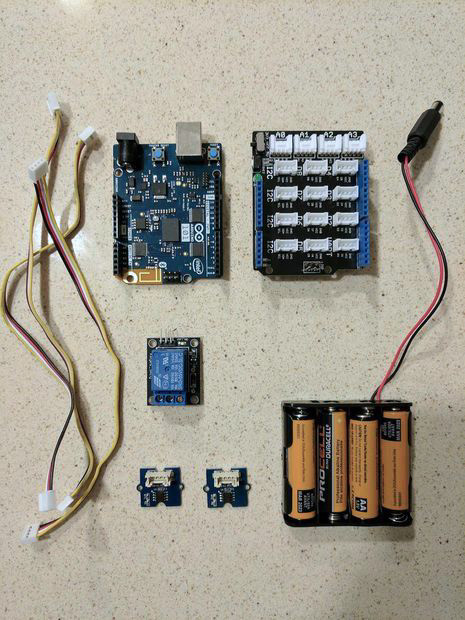
ASSEMBLING THE CONTROL CIRCUIT
The control circuit consists of an Intel powered Arduino 101 control board with a base shield connected to two temperature sensors and a relay. The output terminals on the relay are connected between the thermoelectric module and its power source, allowing the control board to activate or deactivate the module. The control circuit components are housed in a 3D printed container placed next to the thermoelectric module and the temperature sensors are attached to each of the copper sheets.
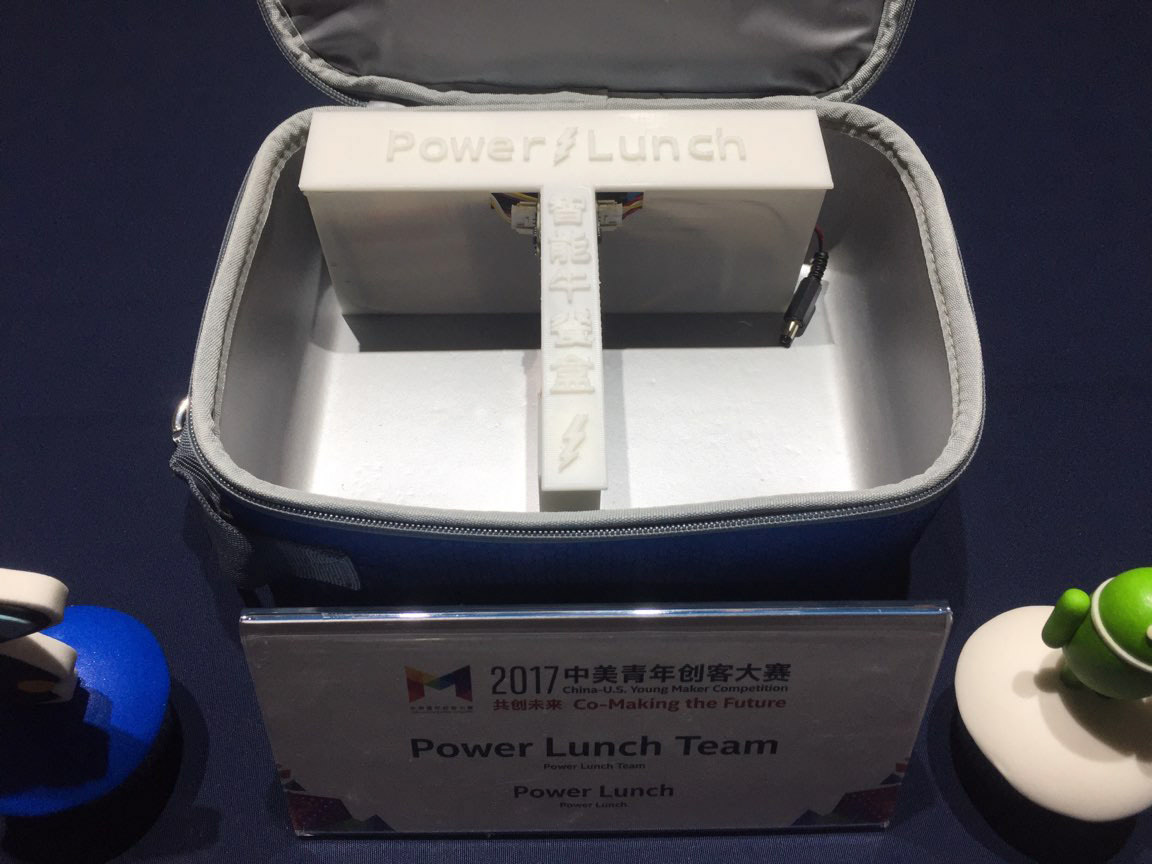
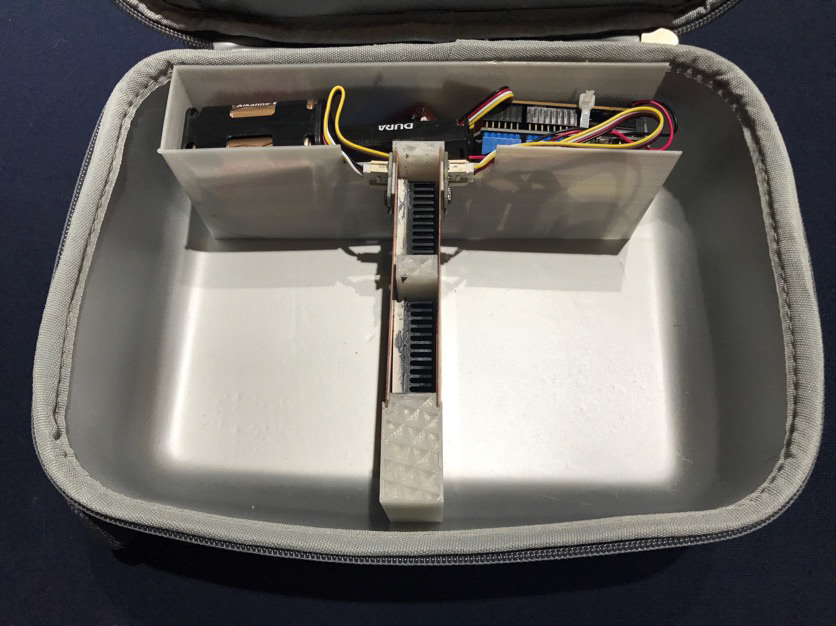
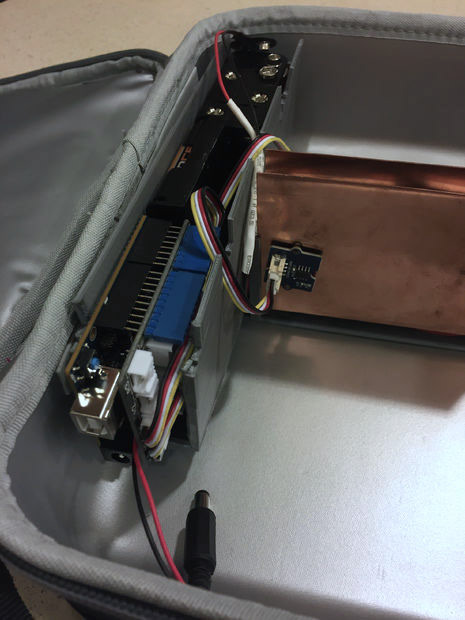
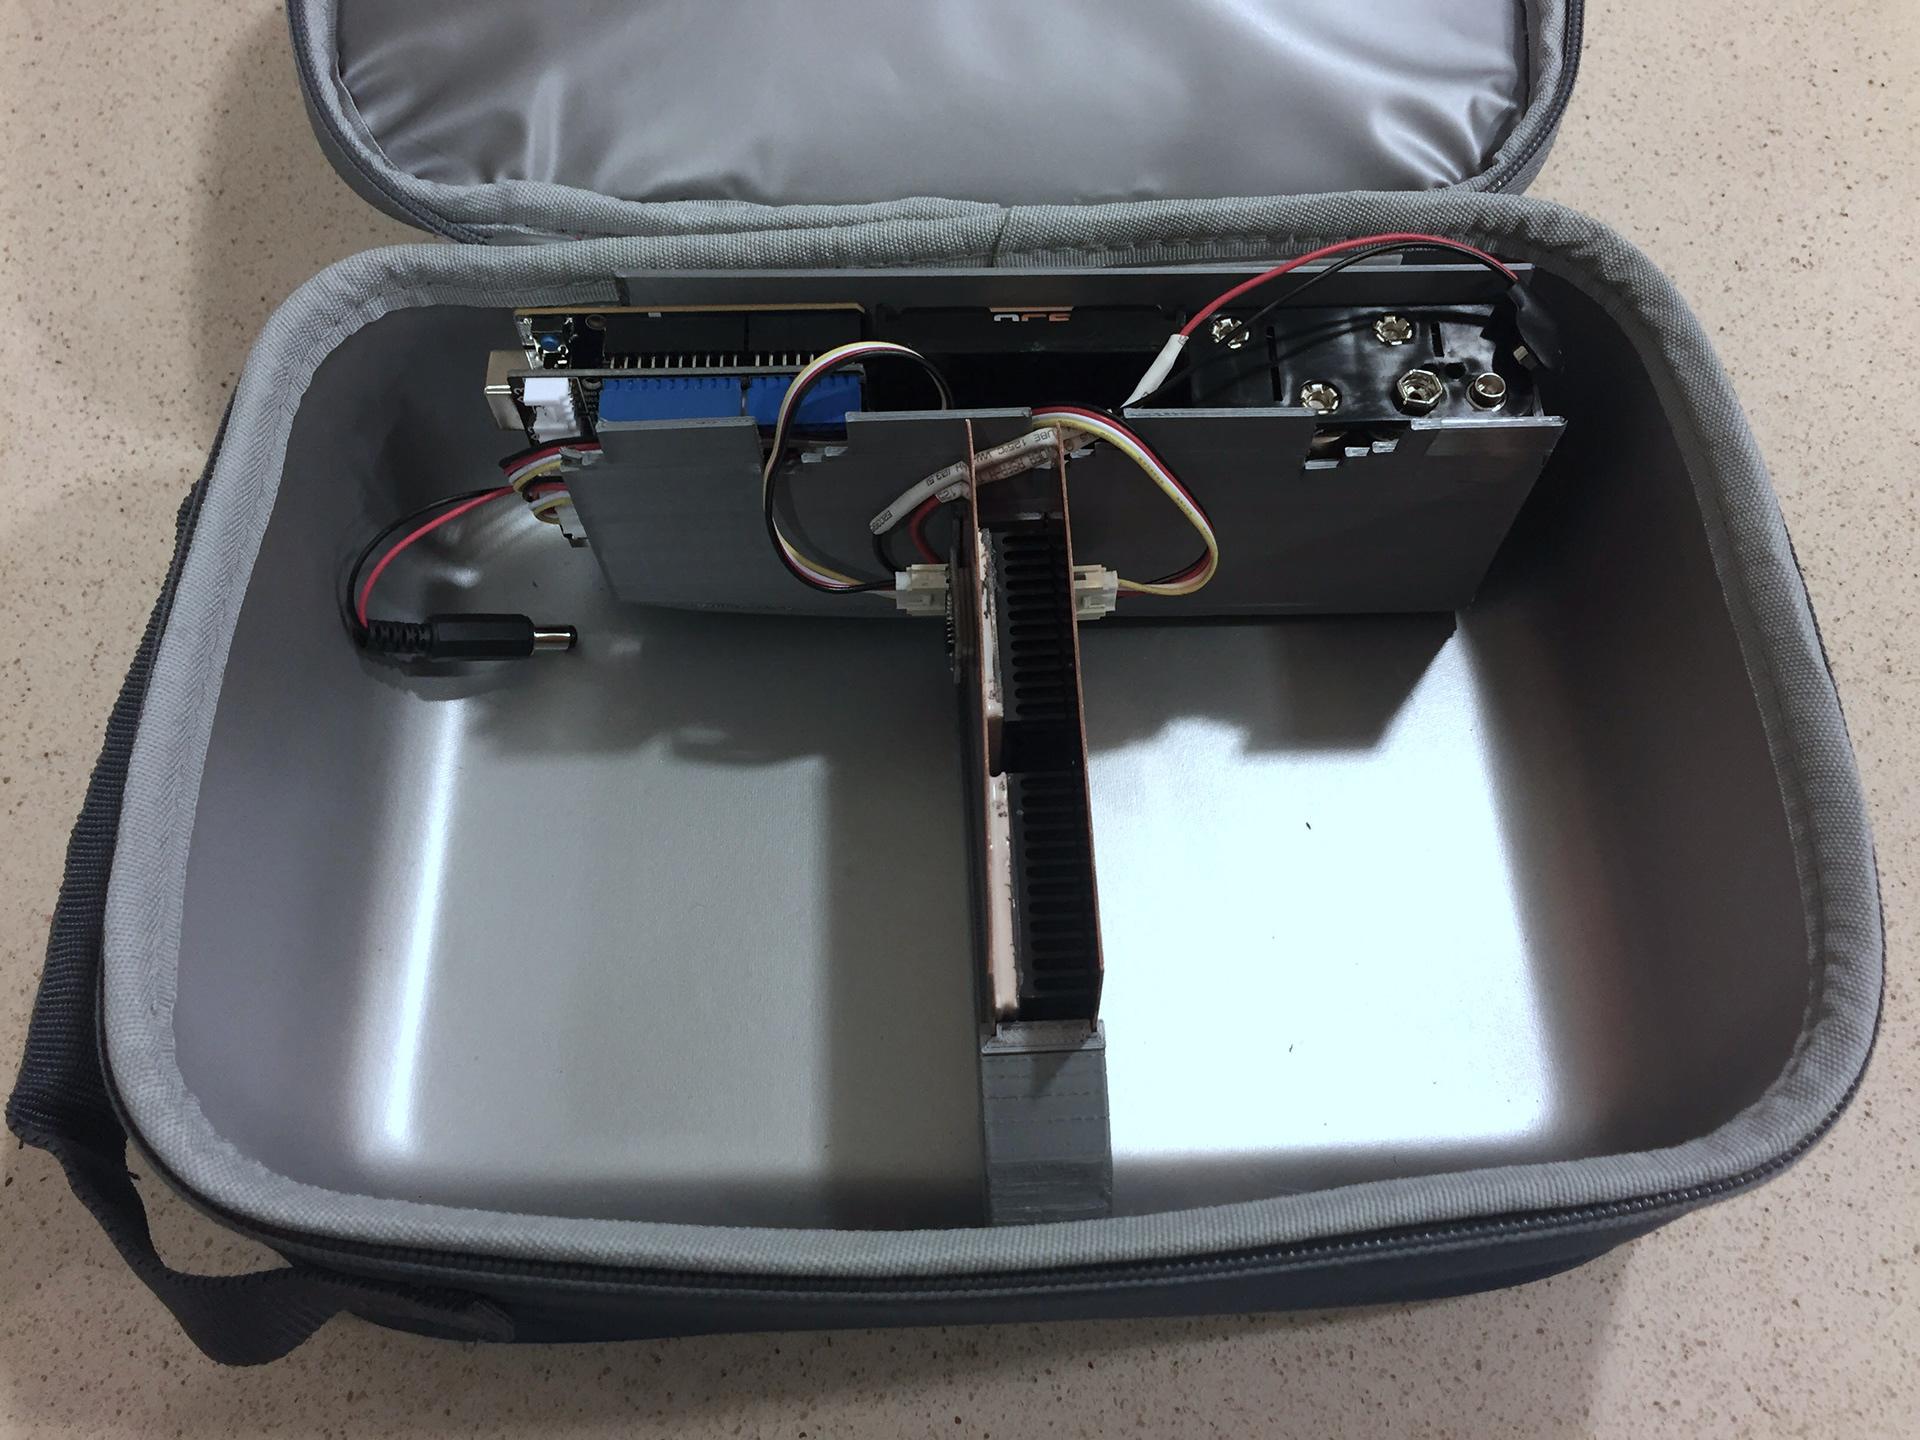
CONSTRUCTING THE COMPONENT HOUSING
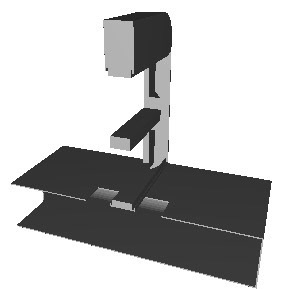
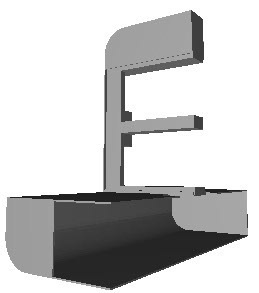
After the thermoelectric components and control circuits are arranged into the housing, run wiring though to bottom of the holder and into the electronics box. Place the control circuit and batteries into the electronics box of the housing. Pass the temperature sensors through the openings on the top and attach one to each copper plate of the thermoelectric module. The lid is 3D printed to encase the electronics.
After the thermoelectric components and control circuits are arranged into the housing, run wiring though to bottom of the holder and into the electronics box. Place the control circuit and batteries into the electronics box of the housing. Pass the temperature sensors through the openings on the top and attach one to each copper plate of the thermoelectric module. The lid is 3D printed to encase the electronics.

TEAM DEMO VIDEO
3D Modeling, Design, Electrical Engineering: Sarah Han
Arduino Development, Sensors: Penelope Lopez, America Lopez
Mobile App Development, Sensors: Brian Cottrell
Translator, Presentation: Ruby Hsu
Arduino Development, Sensors: Penelope Lopez, America Lopez
Mobile App Development, Sensors: Brian Cottrell
Translator, Presentation: Ruby Hsu